
Hey there Everyone!
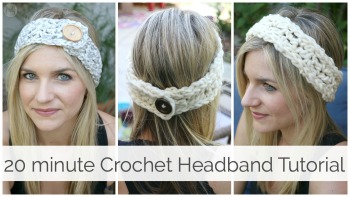
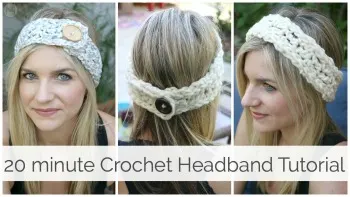
I’ve got a new beginner crochet headband tutorial for you! This one is fun because it will only take you 20 minutes to complete! And once you get the hang of it, I bet you can do it in 15.
Chunky Yarn = Fast Project
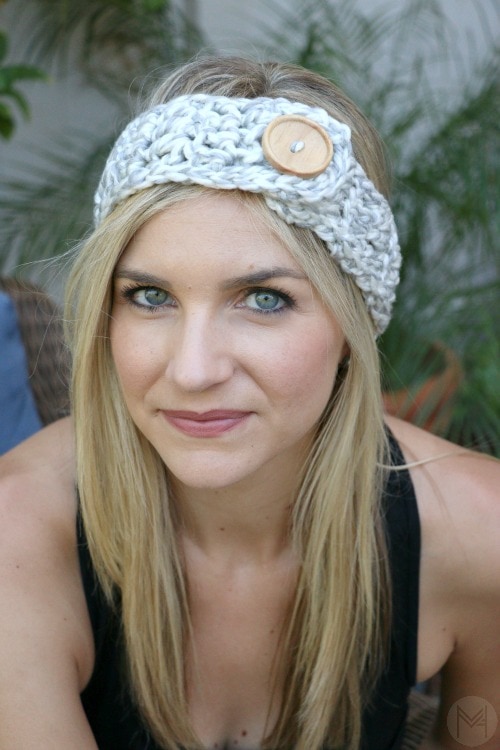
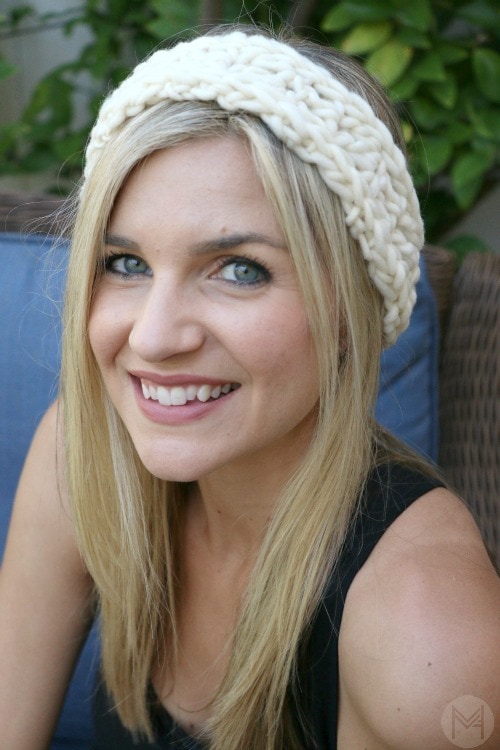
This was the yarn I picked out to do a headband tutorial last fall and I never got to it! So I know that I wanted to make one using this yarn, I love the combo with the wood button!
Yarn Recommendations
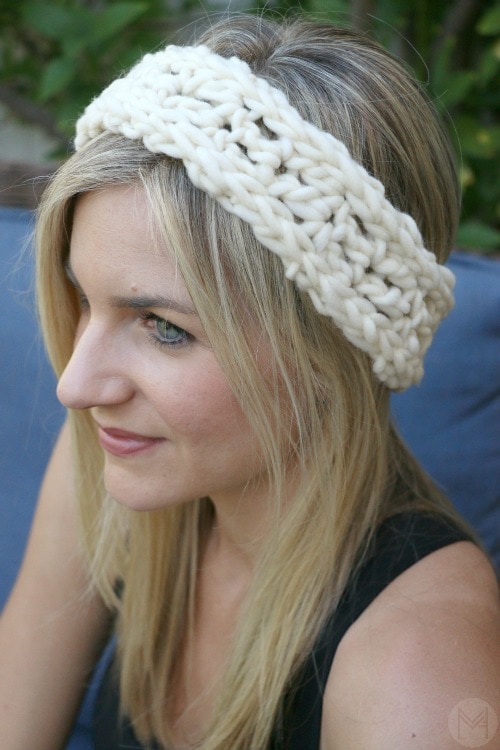
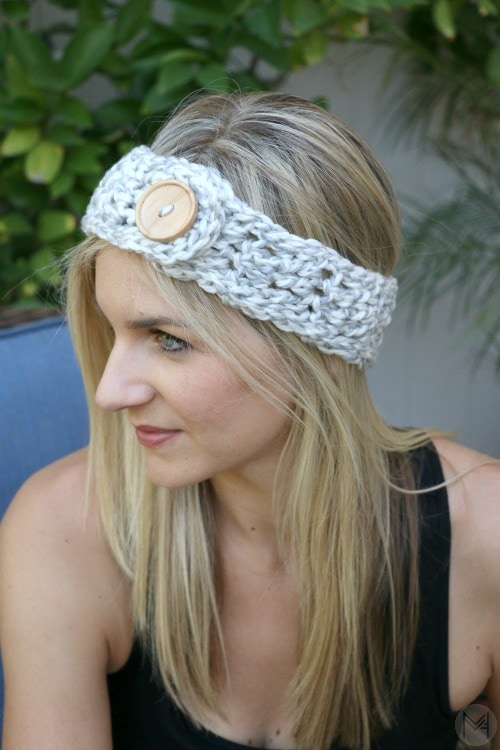
Now this is the yarn that I used in the video tutorial. My mom found it at a little local yarn shop in Virginia where she lives that was having a big sale, she picked some up for me and sent it in the mail. I chose this yarn because it’s 100% wool and holds its shape really well.
You can do this with any kind of yarn you like, but I recommend a chunky yarn with some wool in it.
Here are some good options…
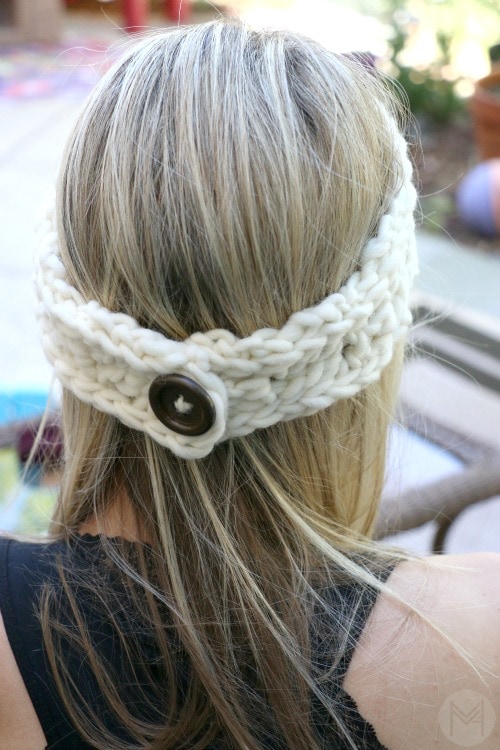
Add a Button Enclosure!
I decided to make it a button closure to make it adjustable! I also like that you have the option of wearing the button in the front as a style choice. And for the holidays, whether you make these for craft fairs or gifts, you don’t have to worry too much about the size.
Crochet Headband Tutorial Supply List:
1 skein chunky wool blend yarn (but really any will work)
Crochet hook that coordinates with you yarn choice.
1 large button (1 1/4-1 1/2)
yarn needle (metal preferred)
scissors
Instructions:
Start with a slip knot and chain (ch) 5
double crochet (dc) in 3rd chain from hook
dc in remaining 2 chains to finish that row.
ch2, turn work and dc in first stitch and remaining stitches. (There should be the turning chain and 3 dc stitches in each row).
Continue in this manner until the headband reaches 22 inches or desired length.
Once your headband is the correct size, begin to slip stitch around the edge of the headband. Place 2 slip stitches in the corners.
-(you may slip stitch around the entire stitch, or through 2 strands depending on the look you are going for)
Once that is complete, finish off leaving a long tail for attaching the button.
Sew the button into place and weave in the ends.
Beginner Crochet Headband Tutorial
Leave me a comment and let me know what you think of this project!
Stay tuned for a great flower tutorial that you can attach to this headband coming out later this weekend!
Here is the full video tutorial!
Christine
Tuesday 15th of December 2015
I love this headband and my granddaughters are all getting one in different colors this Christmas. You are a great teacher.
Diane
Wednesday 9th of December 2015
When you say slip stitch around the entire piece, is this a single crochet? I find it looks strange doing the slip stitch around. The single crochet looks much better. Thank you for sharing this pattern.
Vicki Smith
Sunday 8th of November 2015
Looking for written instructions for the 20 minute crochet headband. Thanks.
Arlene w Palickee
Thursday 15th of October 2015
Thant you, thank you, another project I can do with my low vision. You're are a sweetheart. Need more babies to come along ,to make more of the baby blankets. I've made five. Wonderful teacher.
Cathy
Tuesday 13th of October 2015
If I Had Had the yarn and hook- it would have been so easy to follow your instructions. You are an excellent teacher. Another thing to add to my bucket list. Cathy